
Want to enhance your photos effortlessly? The Vmake App’s Auto Retouch feature is designed to help you achieve stunning results with minimal effort. In this article, we’ll guide you through the simple steps to use Auto Retouch effectively. This feature allows you to automatically adjust brightness, contrast, skin texture, and more, giving your images a polished and professional appearance. With just a few taps, you can transform your photos into beautiful works of art. Let’s explore how to use the Auto Retouch feature in the Vmake App!

How to Use Auto Retouch in Vmake App
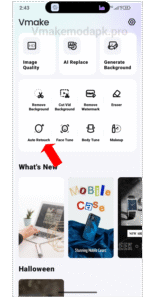
Step 1:- First open your Vmake app and click on Auto Retouch option as shown in screenshot given below.
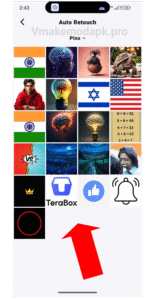
Step 2:- Now here select your image that you want to edit as shown in screenshot given below.
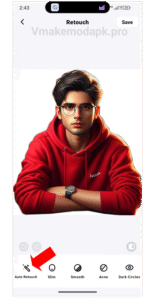
Step 3:- Now here I added image successfully now click on Auto Retouch option as shown in screenshot given below.
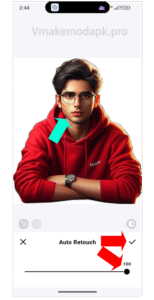
Step 4:- Now you see 0 make it 100 or as your need as shown in screenshot given below.
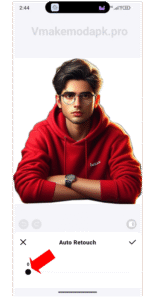
Step 5:- After you make it 100% Cheak you face shape if you statisfy from Auto Retouch option then click Tick option as shown in screenshot given below.
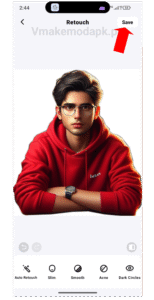
Step 6:- if Statisfy from results then click on top side save option to save you image as shown in screenshot given below.
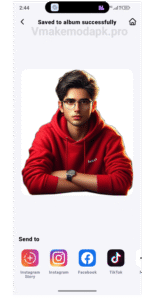
Step 7:- Congratulations 🎉, Your image successfully saved as shown in screenshot given below.
I hope this article is helpful for you thanks for visiting our website.