
Do you want to make changes to your images by removing parts you don’t need? The Vmake App has a handy eraser feature that allows you to do just that. In this article, we will show you how to use the eraser feature step by step. You can easily erase unwanted areas, refine your designs, and create a cleaner look. With just a few simple actions, you can take control of your images and make them perfect. Let’s discover how to use the eraser feature in the Vmake App!

How to Use the Eraser Feature in Vmake App
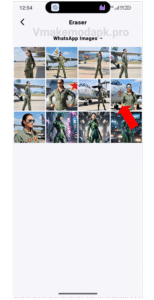
Step 1:- First open your Vmake app and click Eraser Option as shown in screenshot given below.

Step 2:- Now here select your image as shown in screenshot given below.
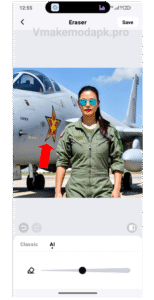
Step 3:- Now in this image you see fighter jet at back side of pilot women, on fighter jet You see Star ⭐ on Fighter jet make eraser on it as shown in screenshot given below.
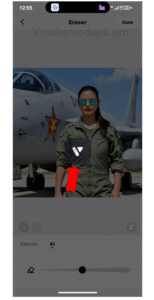
Step 4:- Here loading is started for erase of background star as shown in screenshot given below.
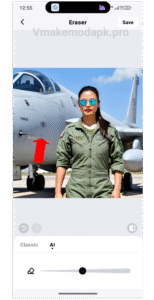
Step 5:- Background star on fighter jet is successfully removed as shown in screenshot given below.
I hope this article is helpful for you thanks for visiting our website.